Tuesday, July 29, 2014

Celebra'tions Take Two

Here's another post from the Celebra'tions line by Richard Garay. I love the Celebra'tions line because all the pieces just work together. Richard has created inks, dies, stamps, paper and embellishments that all coordinate with eachother. This line is a crafter dream come true.

For this card, I letterpressed the Doily Art embossing folder with Luscious Lime ink on Whirl White cardstock. I tied twine around the bottom portion of the card and then adhered it to a Luscious Lime card base. To give the embossing folder a little pazazz, I added a little Journey Glaze and Journey Sparkle Dust from Fun Stampers Journey.

Then, I used the Just Because stamp and die set, as well as Totally Tangerine and Delightful Daisy ink to create the flower. I used foam dots to give the flower demension, then adhered it to the card. Then, added Journey Glaze to the flower to make it pop. 

Lastly, I stamped the sentiment, made the banner, and added it to the card.

Happy crafting!

Friday, July 25, 2014

Celebra'tions!

I love the new Celebra'tions line by Richard Garay. I made these to display at the CK show. I am so proud that he is not only my boss, but my dear friend. You can find everything I used to make these items on the Spellbinders site.
Thanks for stopping by!

Tuesday, July 22, 2014

Pennants Rose

It's been over a month since my last post. Wow! Time sure does fly by. I have been getting a lot of requests for instructions on how I made a rose using our Pennants die set. I want to apologize in advance for the poor quality of the pictures.

I hope you enjoy recreating this rose.  It takes a little time and effort, but I'm sure you'll agree that it's worth it. In the words of Richard Garay, "It's Yummy and Delicious! "

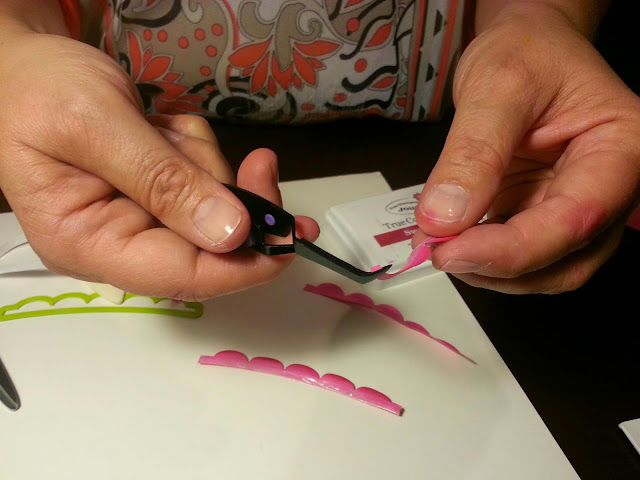
*Cut 4 scalloped pennants from the Watermelon Fusion card stock.

*Distress the edges with Sweet Berry Ink.

*Using a bone folder, curl the edges of the pennant.

*Adhere White Liner to the base of the pennant.

*use a pair of tweezers to start rolling your rose. After about 3 wraps, remove tweezers and start shaping your rose as you continue to roll your rose.

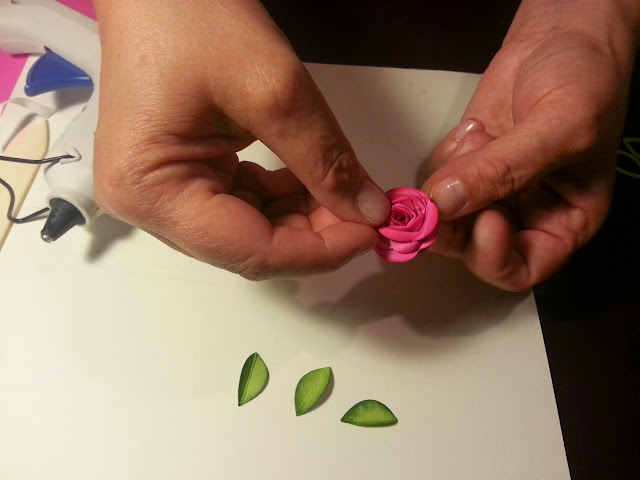
*After all 4 pennants have been adhered to your rose( you may use more or less depending on what size rose you want to make), cut a circle the size of your rose base.

*Use hot glue to adhere the circle to the rose.

Last, cut a few leaves and distress the edges. Score down the center of each leaf and adhere to the base of your rose.